As the winter gets going, who knows what Mother Nature has in store for us. Living in Canada, I know lots of snow will fall, so I want to be prepared.
While it can be a bit nostalgic to shovel the first snowfall or two, by the third go, or when storm totals creep above 15 inches, I’m more than ready to swap my shovel for some gas power.
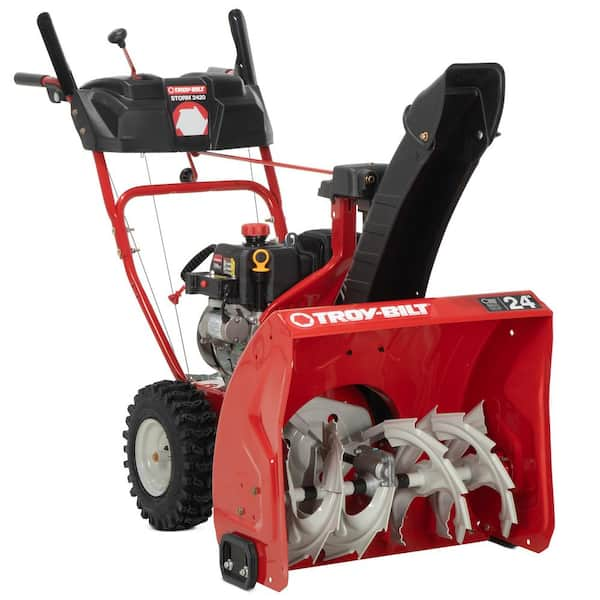
As the owners of a newfangled Troy Bilt snowblower (with a fun chute controller that feels like operating a retro joystick), we surveyed neighbours and friends for their best tips on efficient snowblowing. When winter delivered the first big snowfall, we were ready to rev our engine and move some snow.
Here’s what we were glad we knew—along with a few things we wish we knew—before starting our snowblower.
1. Buy Fresh Gas For Your Snowblower.
Leftover gas from summer lawnmowing won’t cut it for snowblowing. Winter gas has a more volatile blend, which means quicker snowblower starts.
2. Use Additive With Your Snowblower Gas.
Modern gas has a short shelflife. Old gas is actually one of the top reasons that small engines won’t start. Make gas last with a fuel stabilizer—but only add the prescribed amount. Too much, and the stabilizer gums up the snowblower carburetor. Too little, and gas gums up the carburetor.

With any project, 80 percent of the work is done in the planning stage. We have simple checklists to help you get organized and make sure you’re prepared for every step along the way. Download them now for FREE:
3. Get Enough Gas for a Big Snowstorm.
Blowing through deep snows burns through fuel quickly. Our small 1-gallon gas can works well for summer mowing, but our winter delivers frequent and sometimes large snowfalls. We found we needed a larger gas can to keep the snowblower going, especially when the big storms hit.
4. Clear Obstacles From Your Snowblower’s Path.
In the fall, scout your snowblowing area for objects that could jam the auger: frozen newspapers, holiday light or extension cords, a dog cable, rocks or garden hose. If stone mulch borders an area you snowblow, mark the edges so you don’t accidentally move into the gravel. In regions with heavy snowfalls, plan ahead and insert markers into soil before it freezes.
5. Adjust the Skid Shoe Height.
Skid shoes (also called skid plates) control how close the auger comes to snowy surfaces. Double-check these prior to cold weather. We had to make a last-minute adjustment–which required getting down on hands and knees–in a 40-degree garage. That’s a cold task we don’t relish repeating. If a skid shoe becomes cracked or worn, replace it.
6. Plan Where You’ll Put Your Snow.
Think about the pattern you’ll follow to move snow and where you’ll put it. We tackled our first snowblowing during a windy blizzard, so quickly learned to work with the wind. The best place to blow snow is onto your lawn. Avoid blowing it too close to the house, and don’t forget to clear a spot near the end of the driveway for placing garbage cans.
7. Harness the Sun.
Time snowblowing to take advantage of solar power. Our driveway gets morning sun, so we try to clear snow before the sun gets too high in the sky. That way, the sun melts any remaining snow and gets us to bare concrete—and safer footing—sooner.
8. Start Your Engine.
Always start the engine outside—or just inside an open garage door. For an electric start, keep a properly rated extension cord handy. We didn’t realize this for our first start. Our cords hang on a peg board—on the wall opposite from where we store and start the snowblower. With two cars in the garage, traversing from snowblower to extension cords presents an intense obstacle course. In future, I’ll move a cord over near the snowblower before winter arrives.
9. Get Out There Early.
If the forecast predicts large storm totals, start blowing before snowfall finishes. This saves gas and wear on your machine, since blowing small amounts is easier. If you clear the driveway before the plows come through, take time to blow snow along the road edge heading toward your driveway to reduce what the plow will deposit.
10. Work as A Team.
When dealing with deep snow or a tall plow lump, I knock down snow with a shovel so my husband can easily throw it with the snowblower.
I love a bent-handle snow shovel for moving snow, but that bend doesn’t provide the necessary downward force for knocking down deep, cold-hardened snow. Use a shovel with a straight handle for best results in this case.
11. Clean Off Your Snowblower After Use.
After shutting off the engine, grab a broom to whisk snow off the blower. Use a clean-out tool or something similar to remove any snow from the chute. Knock snow off outside to avoid a wet and messy garage floor. Remove snow around the base and top of the chute so it doesn’t freeze into position.
12. Get a Boot Dryer.
In areas with frequent heavy snowfalls, a boot dryer pays for itself in the first storm. It means you can head out, blow snow for Round 1, come inside to warm up, dry your boots and gloves, and have toasty, dry gear to put on when you head out again for Round 2 or a snowman building session with your little one.
It’s also super handy for drying mittens and hats after friendly snowball fights!


thewriteDuffy
At home, April is a mom, wife, and DIY darling. Among other home projects, she helped her husband Dan renovate their 1986 bungalow and is currently designing and decorating the 2023 custom home they are building themselves. Professionally, April is a writer, author, and online marketer with 15 years of experience writing for newspapers and magazines, building online authority websites, and publishing books.
With any project, 80 percent of the work is done in the planning stage. We have simple checklists to help you get organized and make sure you’re prepared for every step along the way. Download them now for FREE: